Garden & paving
Calculate patio pavers and the layers beneath them
Paver quantities depend on the finished outline, pattern and edge cuts. The base and bedding are separate volume estimates.
Understand the requirement
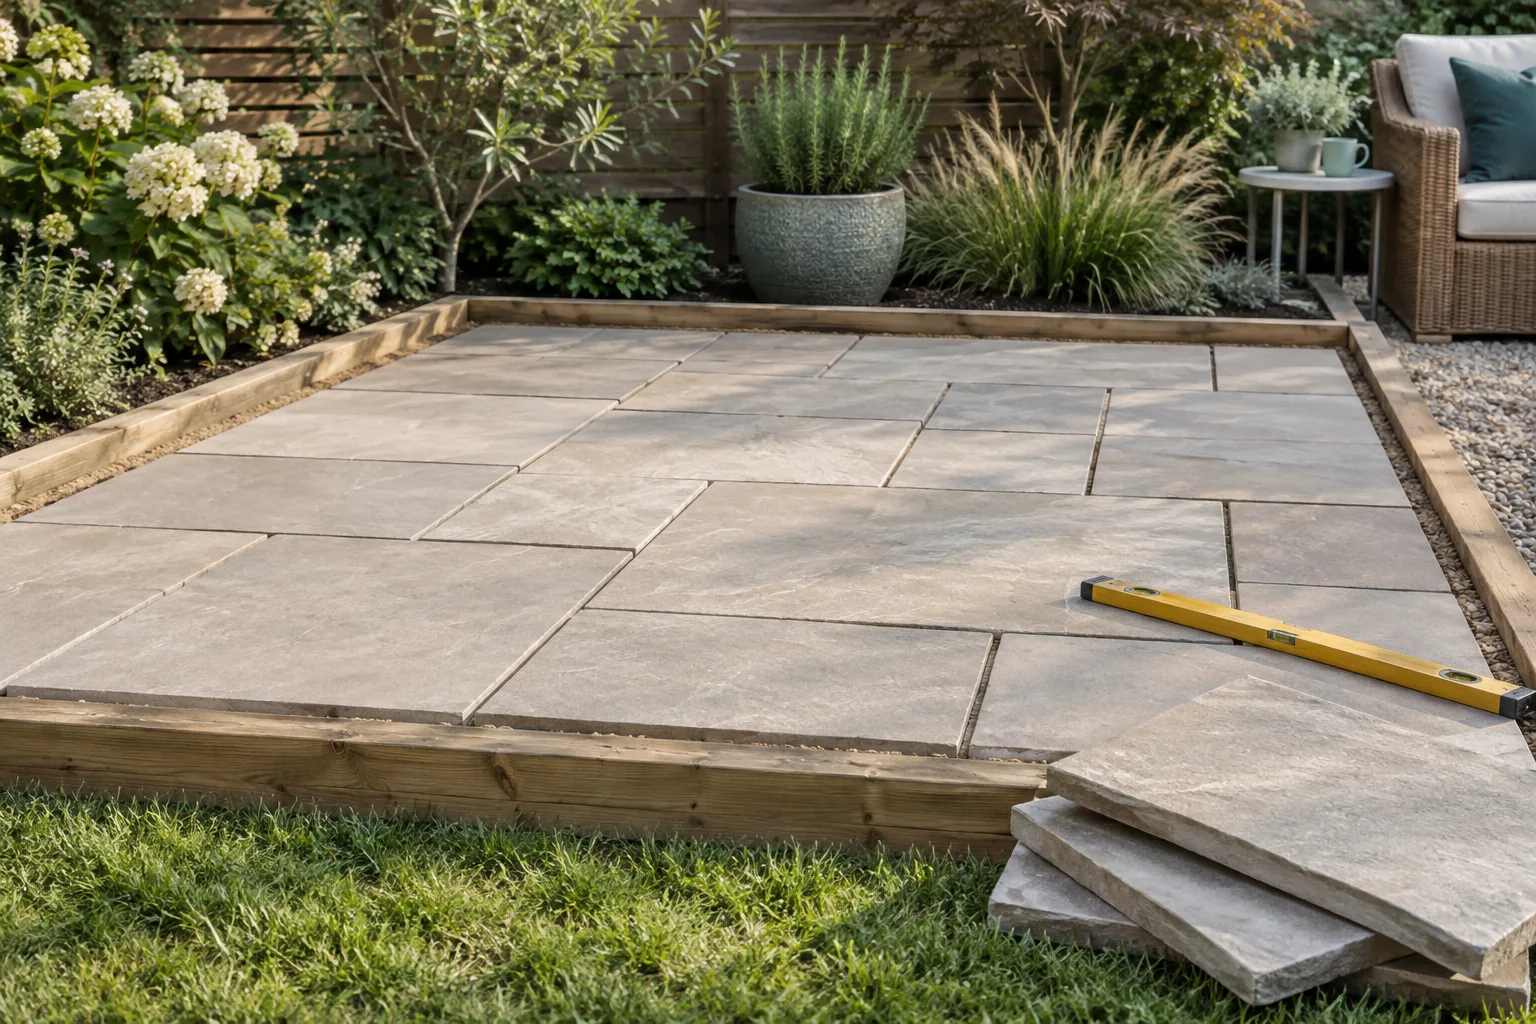
Paver quantities depend on the finished outline, pattern and edge cuts. The base and bedding are separate volume estimates. Record levels and the chosen drainage approach before ordering; a surface-area calculation alone does not establish the right layer depth or drainage design for your ground conditions.
Choose the right calculation
Calculate the surface count from actual paver dimensions, then compare it with a row layout including specified joints. For each base layer multiply area by its specified finished depth. Suppliers may quote loose volume or mass, so confirm compaction assumptions and bulk density rather than treating loose and compacted quantities as identical.
Check the product and the order
Use the chosen board and fixing system together. Material quantities do not validate beam spans, foundations, railing loads or drainage. Keep those design decisions separate and resolved before installation. Recheck board lengths, edge details and required clearances against the current guide, then price only compatible fasteners and accessories.
Worked example
A transparent planning example
Use these inputs to follow the calculation. The result below explains what can and cannot be concluded from it.
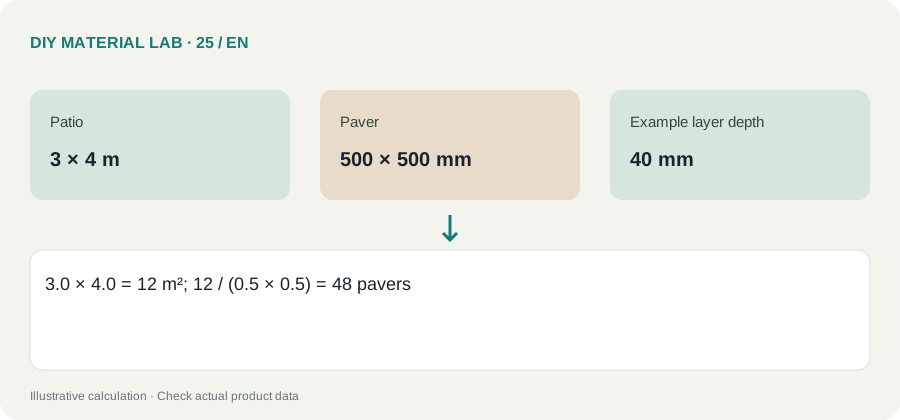
| Patio | 3 × 4 m |
|---|---|
| Paver | 500 × 500 mm |
| Example layer depth | 40 mm |
Theoretical face-area count is 48. A hypothetical 40 mm finished bedding layer has a volume of 0.48 m³. That depth is an arithmetic example, not an installation prescription; obtain the actual layer design before ordering bulk material.
Compare the scenarios
The following comparison isolates the quantities or assumptions discussed in the example. It is a planning illustration, not measured performance data.
Values are calculated from the illustrative inputs above. Different products or dimensions change the result.
Planning checklist
- Measure the actual project and record the units next to every dimension. Identify the regions or parts counted so nothing is included twice.
- Confirm the exact material format and its product instructions. Replace the example inputs with declared dimensions, coverage or yield from your chosen product.
- Calculate the net requirement first. Show cutting or application allowance separately and check whether the example method fits your geometry.
- Convert to whole supplier units once, then price the complete order including compatible accessories, delivery and any separately specified repair stock.
Mistakes to avoid
Do not mix millimetres and metres in the same multiplication. Do not apply a reserve twice, and do not treat a rounded purchase unit as proof that every part fits. Recheck the specific limitation described in the worked example before paying for the order.
Questions and answers
Can I copy the example quantities directly?
No. The examples demonstrate the calculation, not your exact room, layout or product. Replace the inputs and check the specific limitation explained with the result.
What should I verify before ordering?
Theoretical face-area count is 48. A hypothetical 40 mm finished bedding layer has a volume of 0.48 m³. That depth is an arithmetic example, not an installation prescription; obtain the actual layer design before ordering bulk material.