Flooring
Measure a room for a reliable floor plan
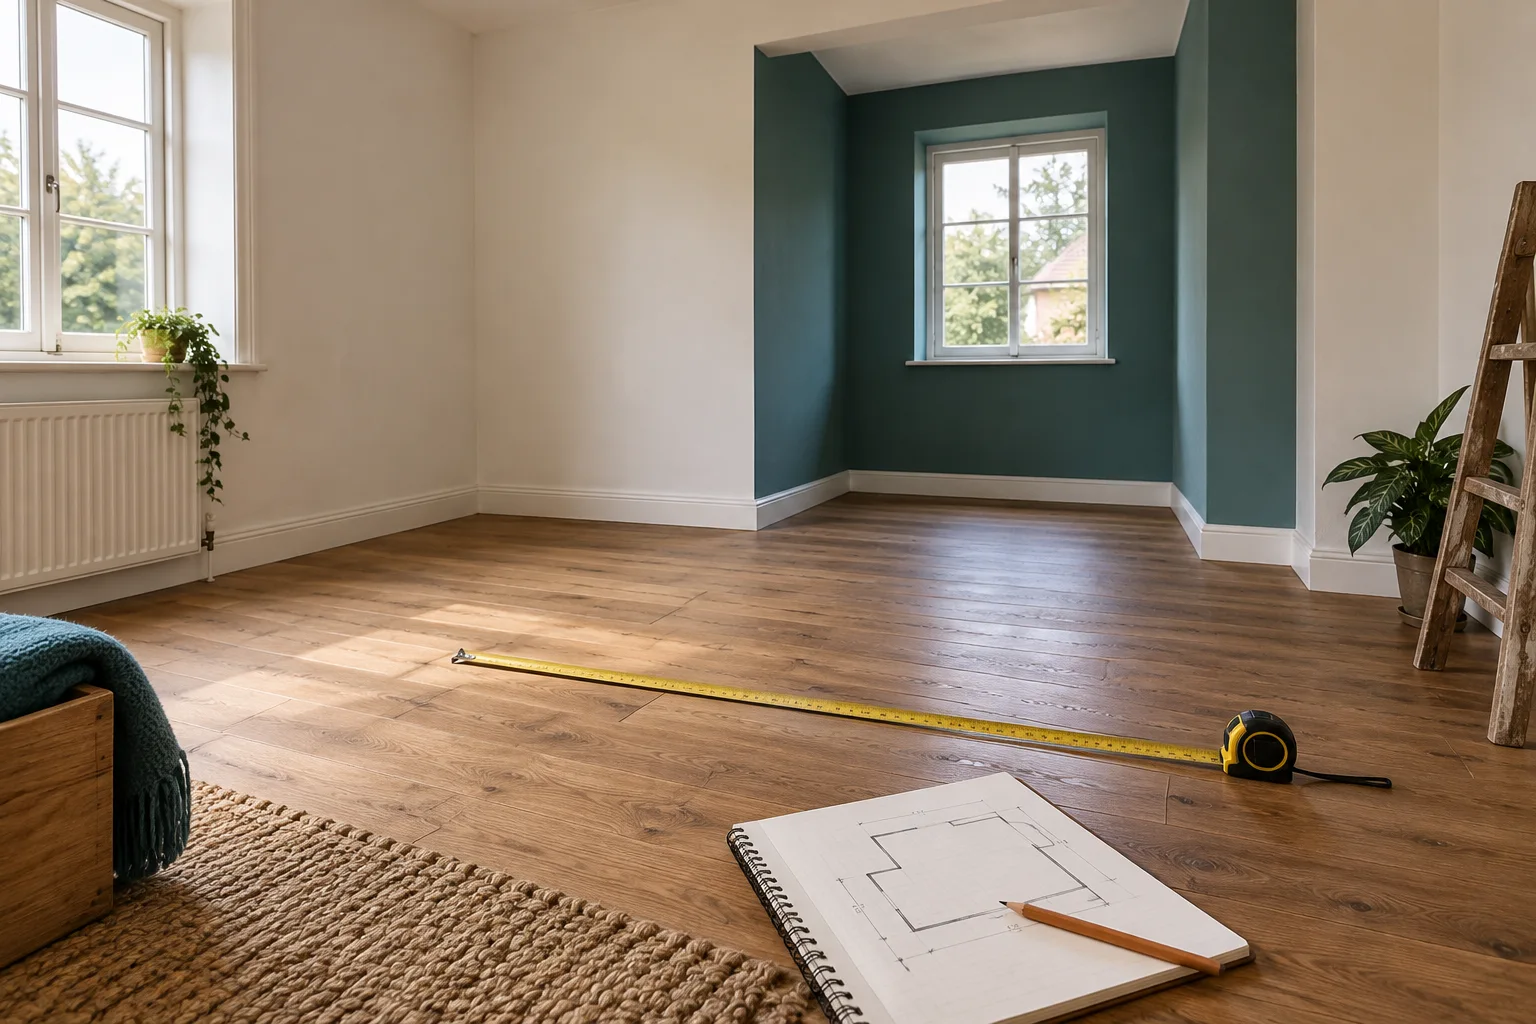
A room can look rectangular while its opposite walls differ. Measure more than one width and length, sketch recesses and note doorways.
Understand the requirement
A room can look rectangular while its opposite walls differ. Measure more than one width and length, sketch recesses and note doorways. For ordering, use the actual area to be covered; for cutting, preserve the individual dimensions. A single area total cannot reveal a narrow final row or a difficult doorway detail.
Choose the right calculation
Split the shape into non-overlapping rectangles and sum their areas. Check a second time from a different starting point. Draw fixed cabinets and columns, but only deduct zones that will genuinely remain uncovered for the chosen installation. Keep expansion clearances as installation details, not a blanket deduction from every wall measurement.
Check the product and the order
A material estimate does not check whether the substrate is dry, flat and suitable. Consult the exact floor-system instructions before buying underlay, adhesive or transition profiles. Record the final build-up height at doors. Keep unopened repair stock identifiable by product and batch; a large offcut pile is not a dependable replacement for matching intact boards.
Worked example
A transparent planning example
Use these inputs to follow the calculation. The result below explains what can and cannot be concluded from it.
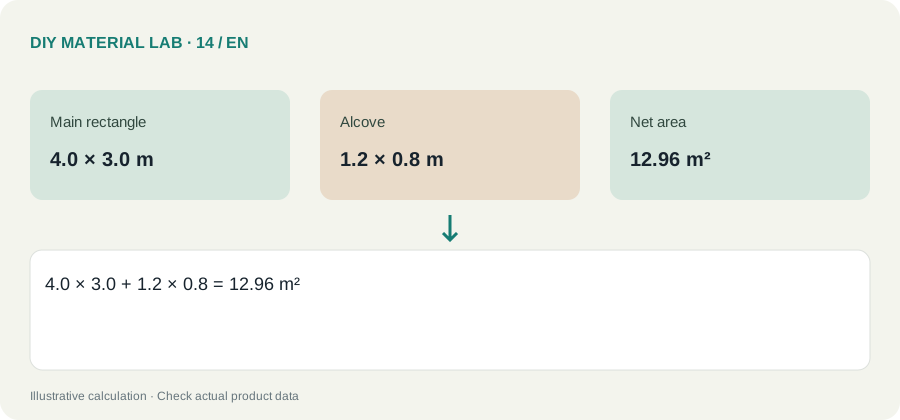
| Main rectangle | 4.0 × 3.0 m |
|---|---|
| Alcove | 1.2 × 0.8 m |
| Net area | 12.96 m² |
The alcove contributes 0.96 m². If its area is already inside the main rectangle, adding it again would double-count it. Mark each measured region with a different letter on the sketch.
Compare the scenarios
The following comparison isolates the quantities or assumptions discussed in the example. It is a planning illustration, not measured performance data.
Values are calculated from the illustrative inputs above. Different products or dimensions change the result.
Planning checklist
- Measure the actual project and record the units next to every dimension. Identify the regions or parts counted so nothing is included twice.
- Confirm the exact material format and its product instructions. Replace the example inputs with declared dimensions, coverage or yield from your chosen product.
- Calculate the net requirement first. Show cutting or application allowance separately and check whether the example method fits your geometry.
- Convert to whole supplier units once, then price the complete order including compatible accessories, delivery and any separately specified repair stock.
Mistakes to avoid
Do not mix millimetres and metres in the same multiplication. Do not apply a reserve twice, and do not treat a rounded purchase unit as proof that every part fits. Recheck the specific limitation described in the worked example before paying for the order.
Questions and answers
Can I copy the example quantities directly?
No. The examples demonstrate the calculation, not your exact room, layout or product. Replace the inputs and check the specific limitation explained with the result.
What should I verify before ordering?
The alcove contributes 0.96 m². If its area is already inside the main rectangle, adding it again would double-count it. Mark each measured region with a different letter on the sketch.