Wood & workshop
Create a cut list that works in the workshop
A cut list is the bridge between a drawing and real parts. Give each piece an identifier, quantity, finished length, width and thickness.

Understand the requirement
A cut list is the bridge between a drawing and real parts. Give each piece an identifier, quantity, finished length, width and thickness. Mark grain direction and visible faces. Keep rough machining allowances separate from finished dimensions; otherwise a later sanding or trimming operation can leave every component undersized.
Choose the right calculation
Group identical parts and cut a verified sample before producing the whole batch. Sort by cross-section, then by length; long critical components constrain stock selection first. Add a column for the source board or sheet and another for completed quantity. An optimiser can propose arrangements, but it cannot decide which knots or veneer defects are acceptable.
Check the product and the order
Inspect timber before assigning it to a part. A board may have enough length but an unsuitable knot, split or bowed section where the finished component should be. Record the usable segment and the face you intend to show. Keep moisture and machining allowances separate from nominal dimensions; final fit is decided by the finished piece.
Worked example
A transparent planning example
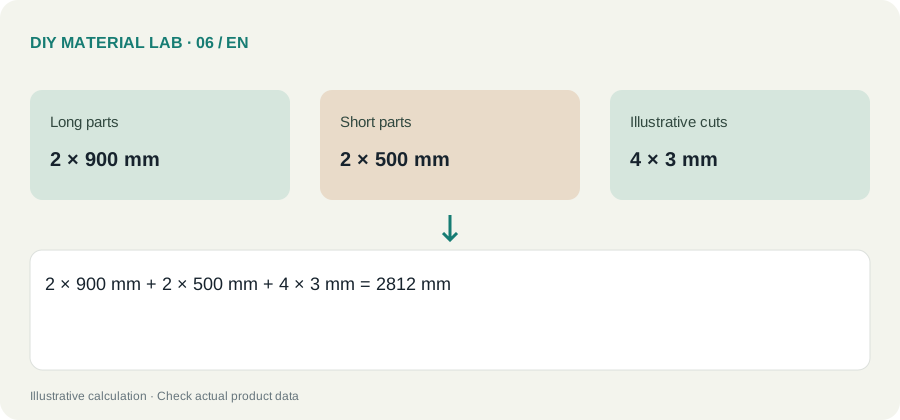
Use these inputs to follow the calculation. The result below explains what can and cannot be concluded from it.
| Long parts | 2 × 900 mm |
|---|---|
| Short parts | 2 × 500 mm |
| Illustrative cuts | 4 × 3 mm |
A 3 m stock length leaves 188 mm before end trimming. The number of cuts depends on the actual sequence and whether the stock end is already usable. Check the marked layout rather than automatically counting one cut per line in the list.
Compare the scenarios
The following comparison isolates the quantities or assumptions discussed in the example. It is a planning illustration, not measured performance data.
Values are calculated from the illustrative inputs above. Different products or dimensions change the result.
Planning checklist
- Measure the actual project and record the units next to every dimension. Identify the regions or parts counted so nothing is included twice.
- Confirm the exact material format and its product instructions. Replace the example inputs with declared dimensions, coverage or yield from your chosen product.
- Calculate the net requirement first. Show cutting or application allowance separately and check whether the example method fits your geometry.
- Convert to whole supplier units once, then price the complete order including compatible accessories, delivery and any separately specified repair stock.
Mistakes to avoid
Do not mix millimetres and metres in the same multiplication. Do not apply a reserve twice, and do not treat a rounded purchase unit as proof that every part fits. Recheck the specific limitation described in the worked example before paying for the order.
Questions and answers
Can I copy the example quantities directly?
No. The examples demonstrate the calculation, not your exact room, layout or product. Replace the inputs and check the specific limitation explained with the result.
What should I verify before ordering?
A 3 m stock length leaves 188 mm before end trimming. The number of cuts depends on the actual sequence and whether the stock end is already usable. Check the marked layout rather than automatically counting one cut per line in the list.